How to Test a New Look for Your Home Without Starting the Renovation
Last Updated on 8 September 2026
Exterior renovations are difficult to picture because several choices have to work together. A siding color may look good on its own but clash with the roof. New trim can sharpen the façade, yet make the front door feel oddly disconnected. Landscaping adds another layer, and every change becomes expensive once materials have been ordered.
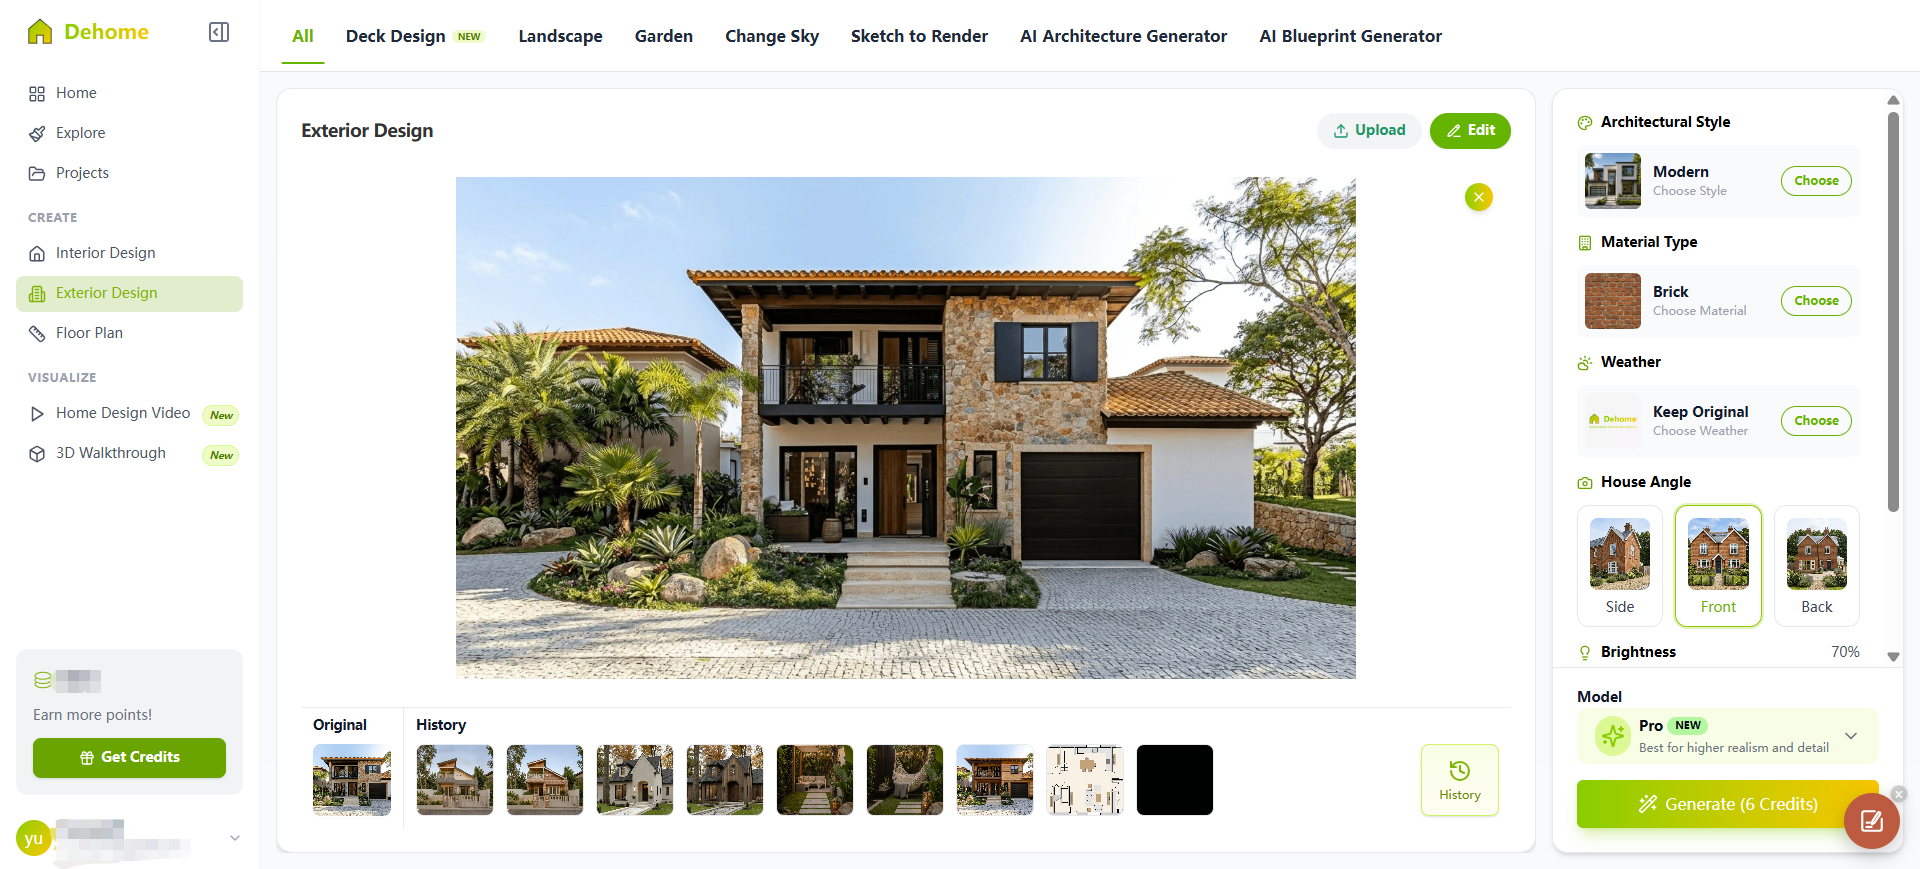
That is why it helps to explore home exterior design ideas before speaking in final colors and products. Starting with a clear, front-facing photograph of the house, homeowners can compare broad visual directions such as modern, traditional, colonial, craftsman, Victorian, or contemporary. The point is not to generate a finished construction plan. It is to see which direction deserves a closer look.
Begin with what will remain
Before changing anything, list the fixed elements: roof shape, major window openings, driveway position, mature trees, and any masonry that is likely to stay. These features set the boundaries for the new look. Ignoring them can produce an attractive concept that has little connection to the real property.
It also helps to photograph the house on an overcast or evenly lit day. Deep shadows can hide trim lines and material transitions, while a heavily angled photo makes it harder to compare both sides of the façade. Keep the original image nearby so that each concept can be checked against the existing structure.
Change one family of details at a time
A full exterior concept may include siding, stone, stucco, roof colors, doors, windows, lighting, and planting. Reviewing all of them at once can make it difficult to understand why one option feels better than another.
A simpler method is to work in rounds. First compare architectural styles and major materials. Next, keep the preferred structure and test color palettes. Finally, look at smaller details such as the front door, trim, exterior lights, and planting. Save each version with a clear name so the differences do not disappear into a folder of nearly identical images.
Use color testing for the shortlist
Once the overall direction is settled, a paint visualizer can help compare colors on a photograph of the actual home. It can apply color to an entire scene or focus on areas such as walls, ceilings, and floors. Curated palettes are useful for exploring, while a custom HEX value can help recreate a color already under consideration.
For an exterior, compare the main wall color with the roof, trim, stonework, and surrounding landscape. A muted green may feel balanced in a leafy setting but less convincing beside warm red brick. A light neutral may brighten the façade, although it could also make maintenance marks more visible.

Do not trust the screen alone
Digital color is a filtering tool, not final proof. Screen calibration, sunlight, shade, surface texture, and paint finish can all change how a shade appears. After narrowing the options, view physical samples outdoors and check them at different times of day.
Structural changes need a separate review. Moving windows, altering the roof, adding cladding, or changing entrances may involve building codes, moisture control, engineering, and local approval. A generated exterior image can communicate an intention to a contractor, but feasibility still has to be confirmed by qualified professionals.
A better first meeting
The real value of visual planning is not a perfect makeover image. It is a more useful conversation. Instead of telling a contractor that the house should feel “cleaner” or “more modern,” a homeowner can point to a preferred material balance, trim contrast, and front-door treatment. The images make preferences easier to explain while leaving technical decisions to the people responsible for the work.
A renovation is still a physical project with budgets, measurements, and regulations. Testing the look first simply makes it less likely that the most expensive decisions will be based on guesswork.